
¿Puedo usar una tarjeta SD en un escáner de código de barras?
En la era digital actual, la eficiencia y la velocidad son cruciales en el sector comercial y logístico. Los escáneres de código de barras juegan un rol fundamental en la automatización de tareas como la gestión de inventarios y el procesamiento de ventas. Una pregunta común entre los usuarios es si se puede usar una tarjeta SD en un escáner de código de barras para mejorar su funcionalidad.
La respuesta a esta pregunta varía dependiendo del modelo del escáner y sus especificaciones técnicas. A continuación, exploraremos los aspectos clave sobre el uso de tarjetas SD en escáneres de código de barras, sus ventajas y limitaciones.
Tipos de escáneres de código de barras y compatibilidad con tarjetas SD
Existen diferentes tipos de escáneres de código de barras en el mercado, cada uno con sus particularidades y capacidades. La compatibilidad con tarjetas SD es una característica que no está presente en todos los modelos. Estos son algunos de los tipos más comunes:
- Escáneres de código de barras manuales: Son los más simples y usualmente no tienen capacidad para tarjetas SD.
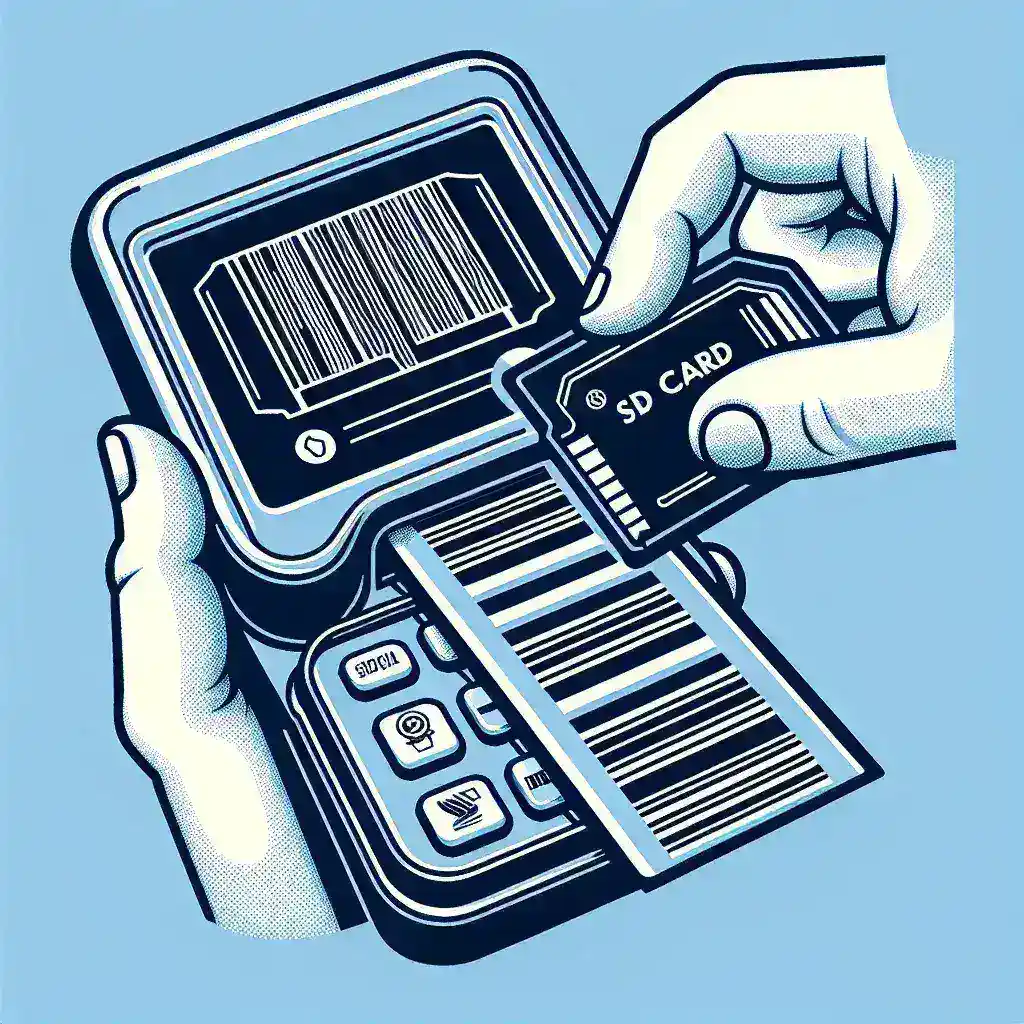
- Escáneres de código de barras portátiles: Algunos modelos avanzados pueden tener ranuras para tarjetas SD para almacenamiento adicional.
- Escáneres de código de barras integrados: Se utilizan en dispositivos como computadoras de mano y principalmente en aplicaciones industriales, algunos de estos modelos pueden soportar tarjetas SD.
| Tipo de escáner | Compatibilidad con tarjeta SD |
|---|---|
| Manual | No |
| Portátil | Sí (algunos modelos) |
| Integrado | Sí (algunos modelos) |
Beneficios del uso de tarjetas SD en escáneres de código de barras
La incorporación de una tarjeta SD en un escáner de código de barras puede proporcionar varios beneficios, especialmente en entornos de trabajo exigentes:
1. Ampliación de almacenamiento
Un escáner con ranura para tarjetas SD permite el almacenamiento de grandes cantidades de datos, como registros de escaneos, sin depender de la memoria interna del dispositivo.
2. Flexibilidad y portabilidad
Las tarjetas SD son extraíbles, lo que facilita la transferencia de datos entre diferentes dispositivos. Esto es útil en situaciones donde los escáneres no están conectados a una red.
3. Mejora de la eficiencia operativa
Con un almacenamiento adicional, los trabajadores no necesitan preocuparse por la falta de espacio, lo cual puede interrumpir las operaciones diarias.
Limitaciones del uso de tarjetas SD en escáneres de código de barras
A pesar de las ventajas, también existen ciertas limitaciones al utilizar tarjetas SD en escáneres de código de barras:
1. Compatibilidad del dispositivo
No todos los escáneres tienen ranuras para tarjetas SD. Es crucial verificar si el dispositivo soporta esta funcionalidad antes de adquirir uno.
2. Riesgo de pérdida de datos
Las tarjetas SD pueden dañarse o perderse, lo que podría resultar en la pérdida de datos importantes. Es esencial realizar copias de seguridad regularmente.
3. Costo adicional
Incorporar este tipo de almacenamiento conlleva un costo adicional no solo por la compra de la tarjeta SD, sino también posiblemente por adquirir un modelo de escáner más avanzado.
Conclusión
Entonces, ¿puedes usar una tarjeta SD en un escáner de código de barras? La respuesta depende del modelo y las especificaciones del dispositivo. Para aquellos escáneres que ofrecen esta capacidad, las ventajas pueden ser significativas, especialmente en términos de almacenamiento y flexibilidad. Sin embargo, es crucial considerar también las posibles limitaciones y riesgos asociados.
Al evaluar la opción de usar una tarjeta SD en tu escáner de código de barras, asegúrate de revisar las especificaciones técnicas del dispositivo y determinar cómo esta característica se ajusta a tus necesidades operativas específicas.
Finalmente, como en cualquier decisión de compra, el equilibrio entre costo, funcionalidad y beneficio debe ser cuidadosamente evaluado para garantizar una inversión inteligente.